


Prerequisites
You need Windows 11 or Windows 10 running on your PC or laptop.
You need an 8GB or higher pen drive to create a bootable disk with Ubuntu Linux.
You need to reserve a free space of 50GB or higher from your drive.
This method is only for computers running in UEFI BIOS mode. For checking whether your computer is running in UEFI mode or not,
Open Run( win + R )then check the BIOS mode.If the above is true for your system then you are all set to go.
STEP 1 - Downloading the required files
Go to ubuntu.com and download the
Ubuntu 22.04.2 LTS. The latest LTS version of Ubuntu, for desktop PCs and laptops. LTS stands for long-term support — which means five years of free security and maintenance updates, guaranteed.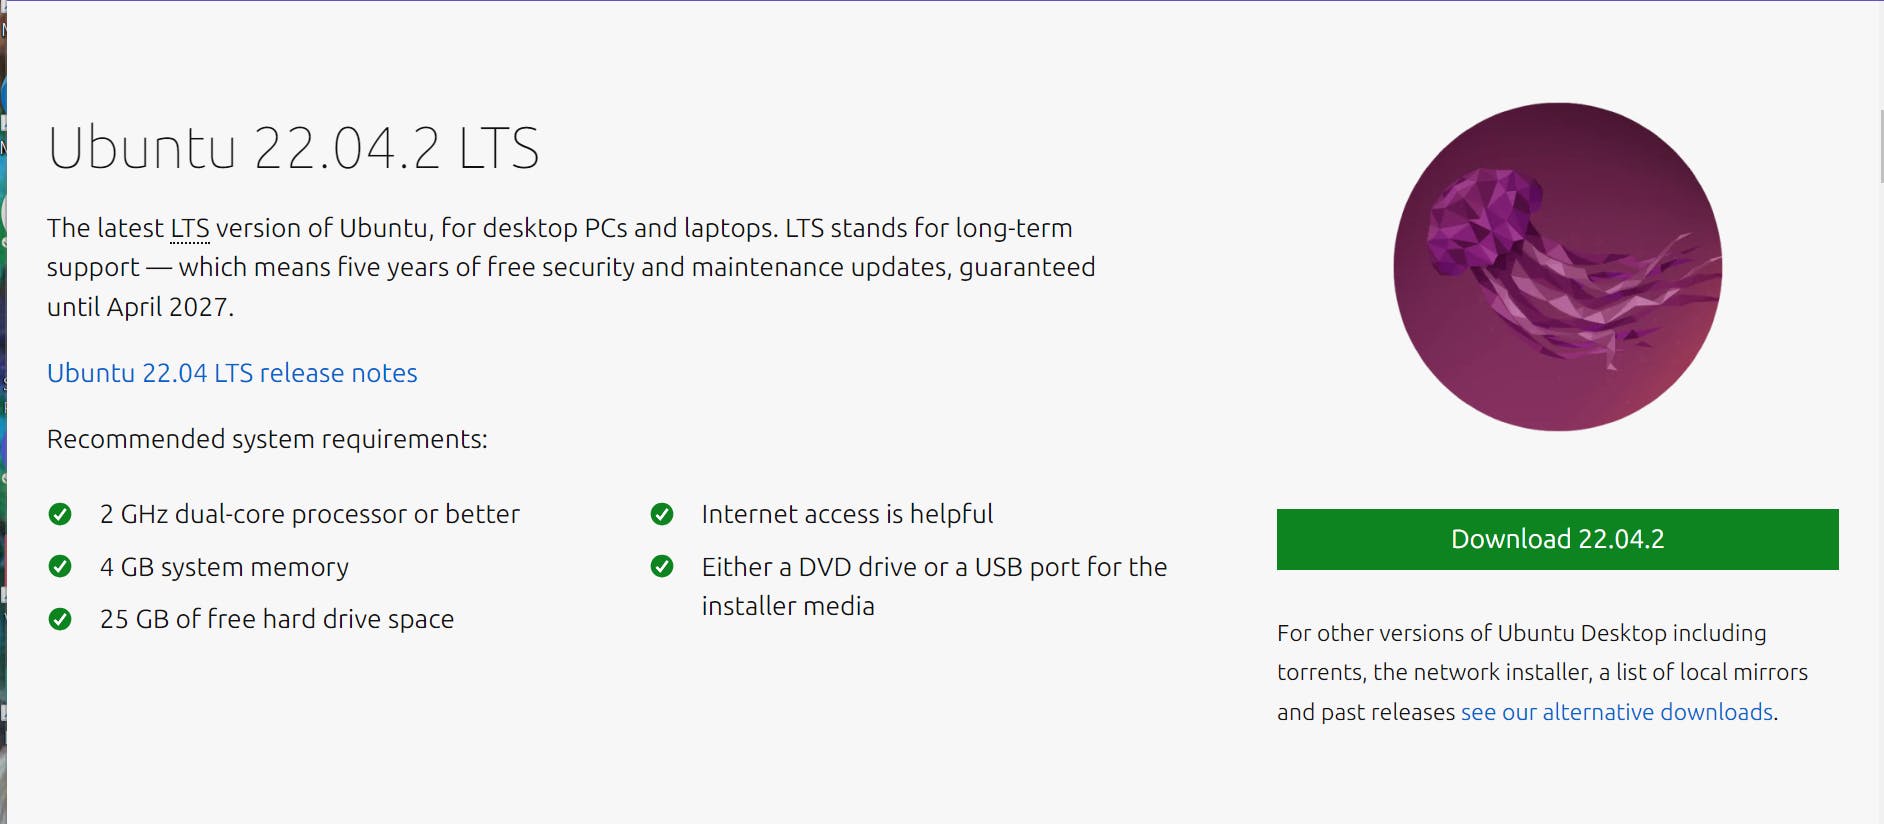
Now Download the latest version of Rufus to create a bootable USB drive easily. Once both Ubuntu and Rufus are downloaded then place them somewhere in the computer for easier navigation.
STEP 2 - Creating a free space for Ubuntu
Go to Control Panel and Open the
Disk ManagementorCreating Disk Partition and Management.You can also find it by searchingdiscmgmt.mscin the search bar.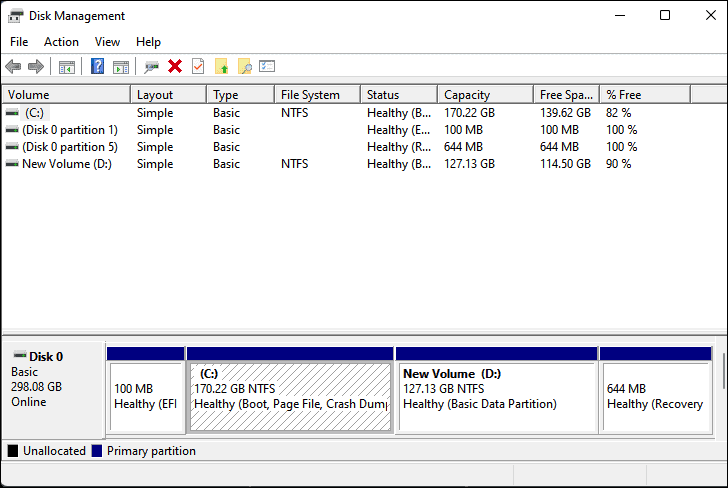
Now Create the Disk Partition in a drive (D:) depending upon the space you want to allocate to Ubuntu. Right-click on the partition and select the
Shrink Volumeoption and create the unallocated space required for Ubuntu.
STEP 3 - Creating bootable drive with Rufus
- Now connect the pen drive to your PC / laptop. Right-click on the Rufus folder and select
Run as an administrator. For the updates popup select yes. Then this page will be opened.
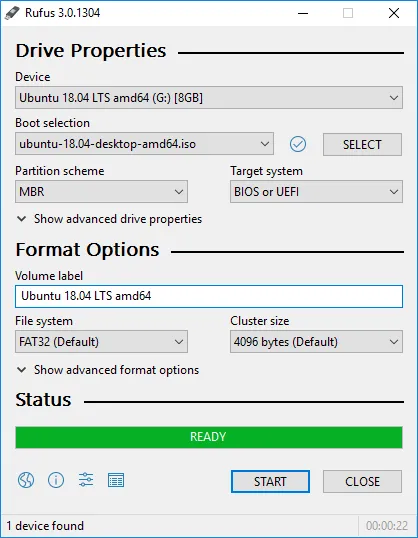
- Here, leave the device section as default. In boot selection select the
Ubuntu iso image filefrom your computer(the place where you saved it earlier). Select the partition scheme asGPT. Target System asUEFI. After all this press Start then selectWrite in ISO image mode (Recommended).

Wait till the process is completed(depends on the writing speed of your pen drive). After completion close it.
STEP 4 - Installing Ubuntu
- Restart the Computer and Enter into the BIOS of the computer, and check for the following things:-
Intel Rapid Storage Technology is disabled. (you can reenable it if you want it in future)
USB Boot is enabled.
Now Save the changes and again while restarting press ESC or F2 or F10 or F12 on your keyboard to launch the boot menu depending upon your computer. Now choose the pen drive you have inserted to boot into Ubuntu live setup.
To enter into BIOS refer to this article.
After successful booting this page will appear
Click on Ubuntu and boot into the live setup.
This will be the first page of Ubuntu.
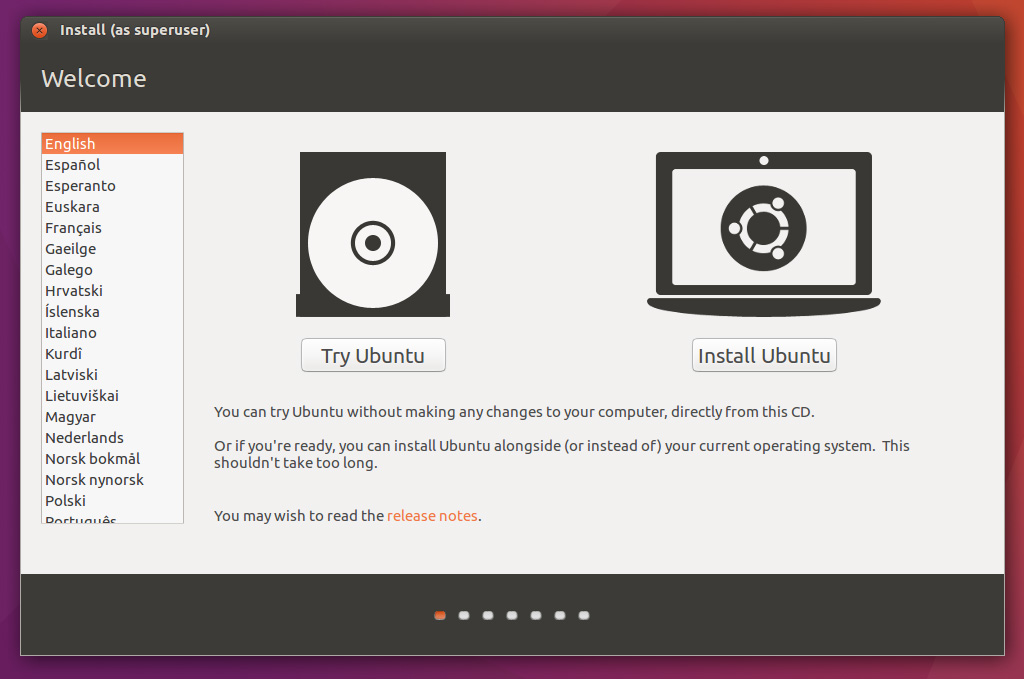
Click on Install Ubuntu. Select your language.
Keyboard layout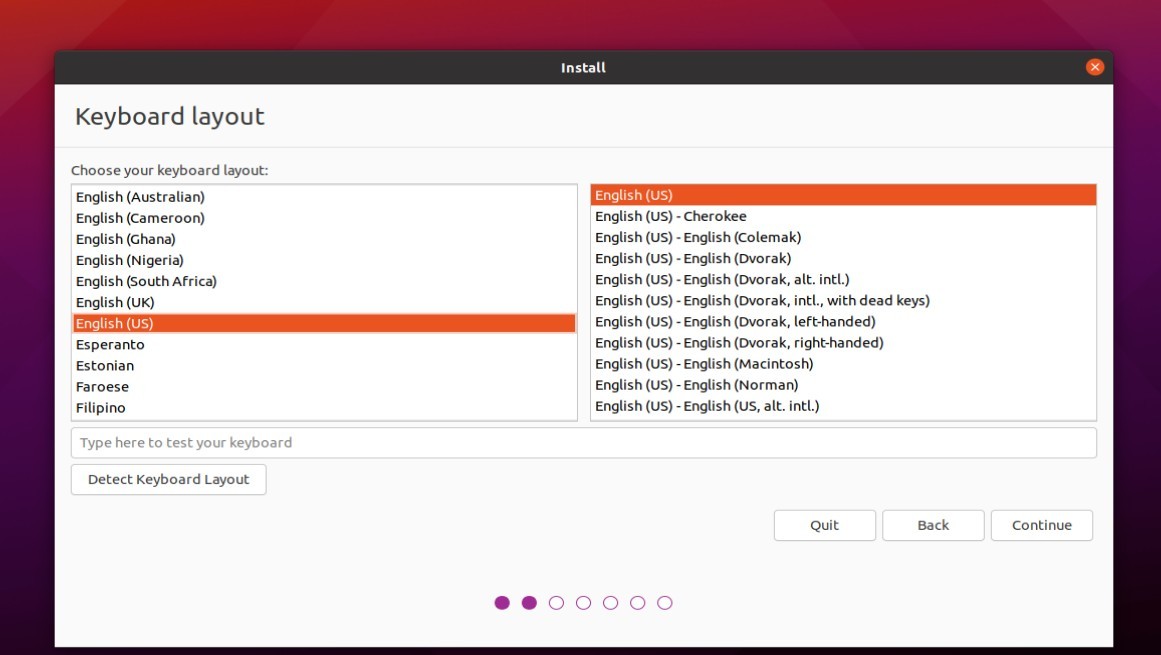
Updates and Other Software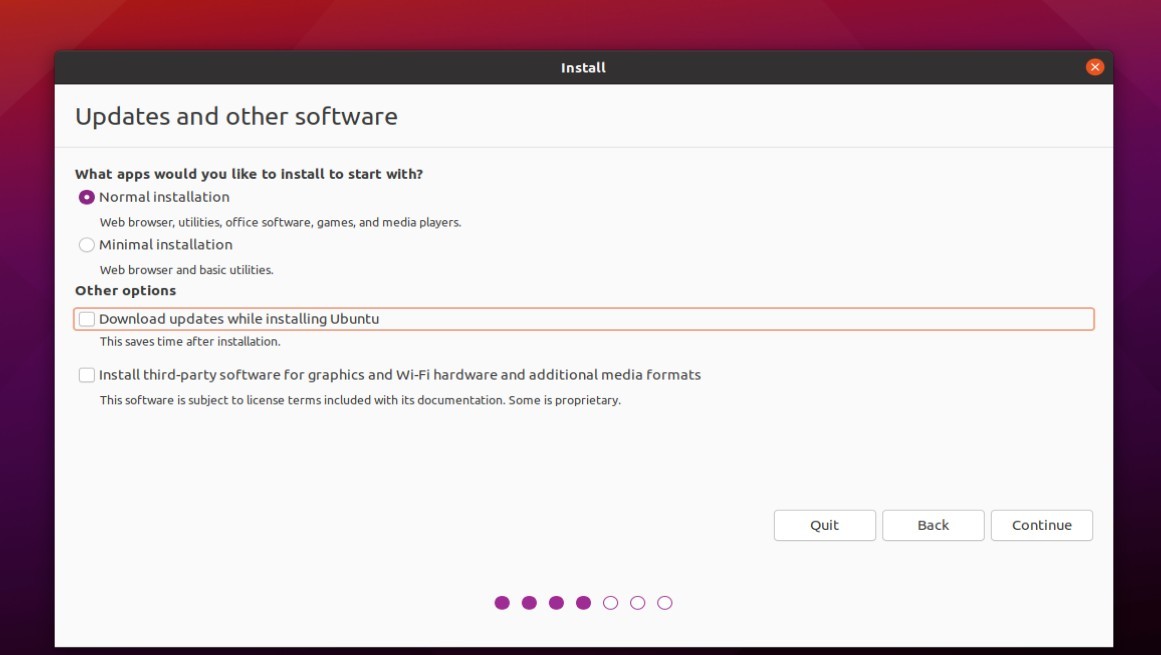
Check out both the options given under other options, then click on continue.
Installation Type
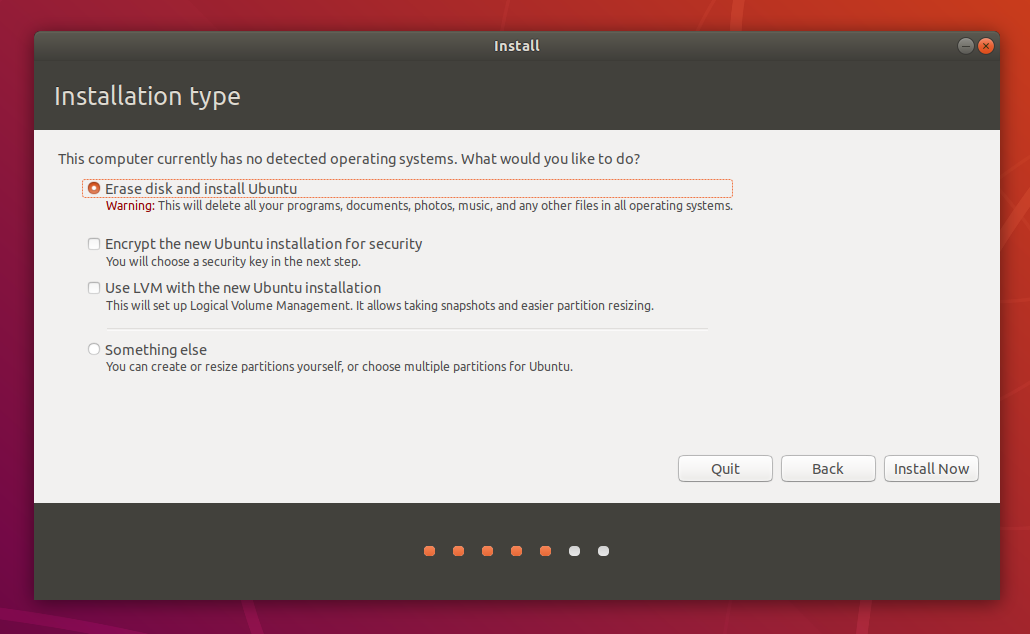
CAUTION :- Select Something else option on the page, and we will create partitions for
roothomeandswapby ourselves. Do not touch any of the partitions after clicking on the Something else option as it will destroy the Windows data.
Look for the free space and click on it, and then click on the + sign to make the partition
There will be three partitions created that are - root home and swap
ROOT
HOME
SWAP
Creating
rootpartition.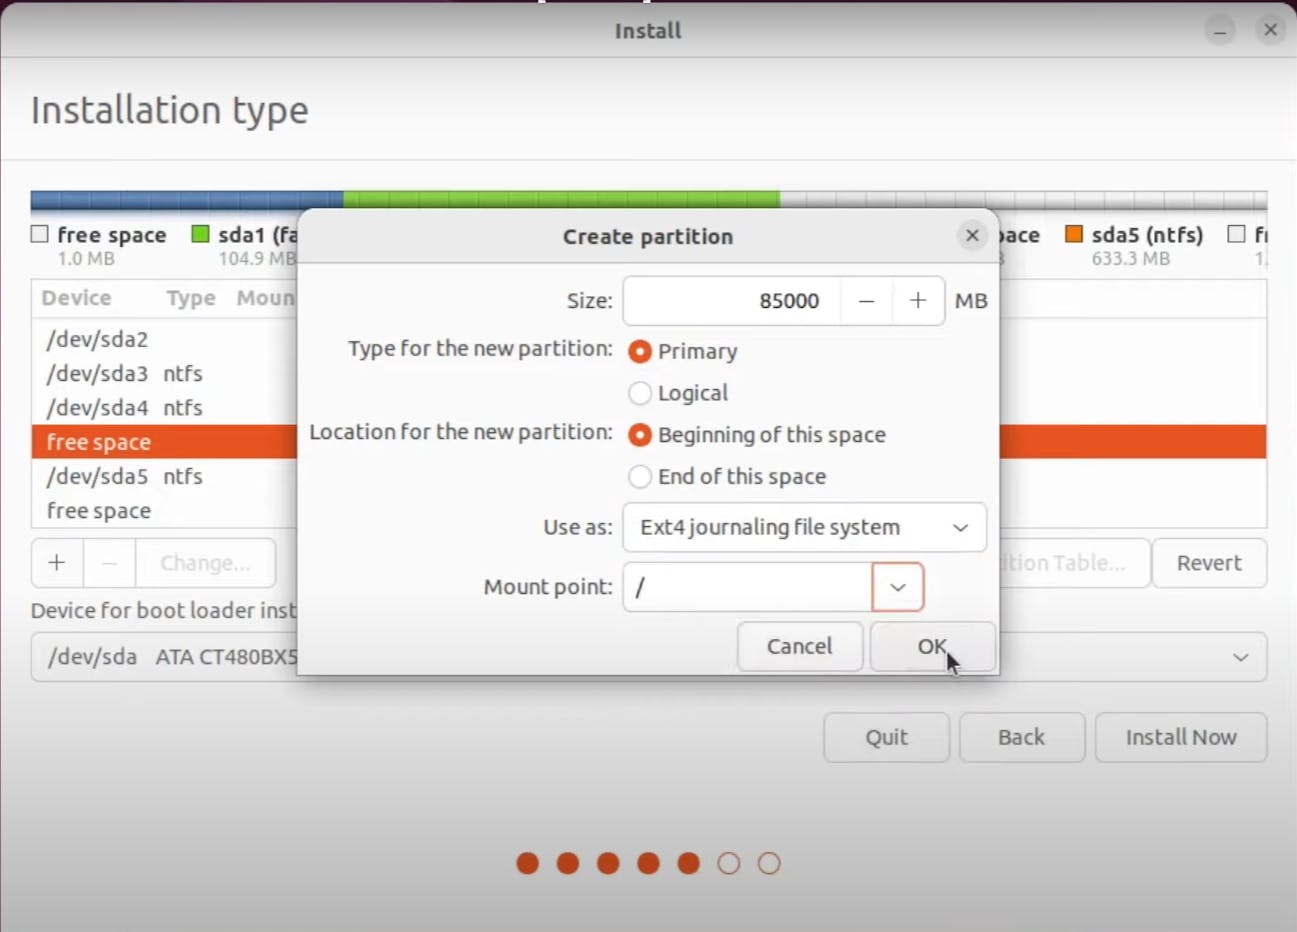
Creating
homepartition.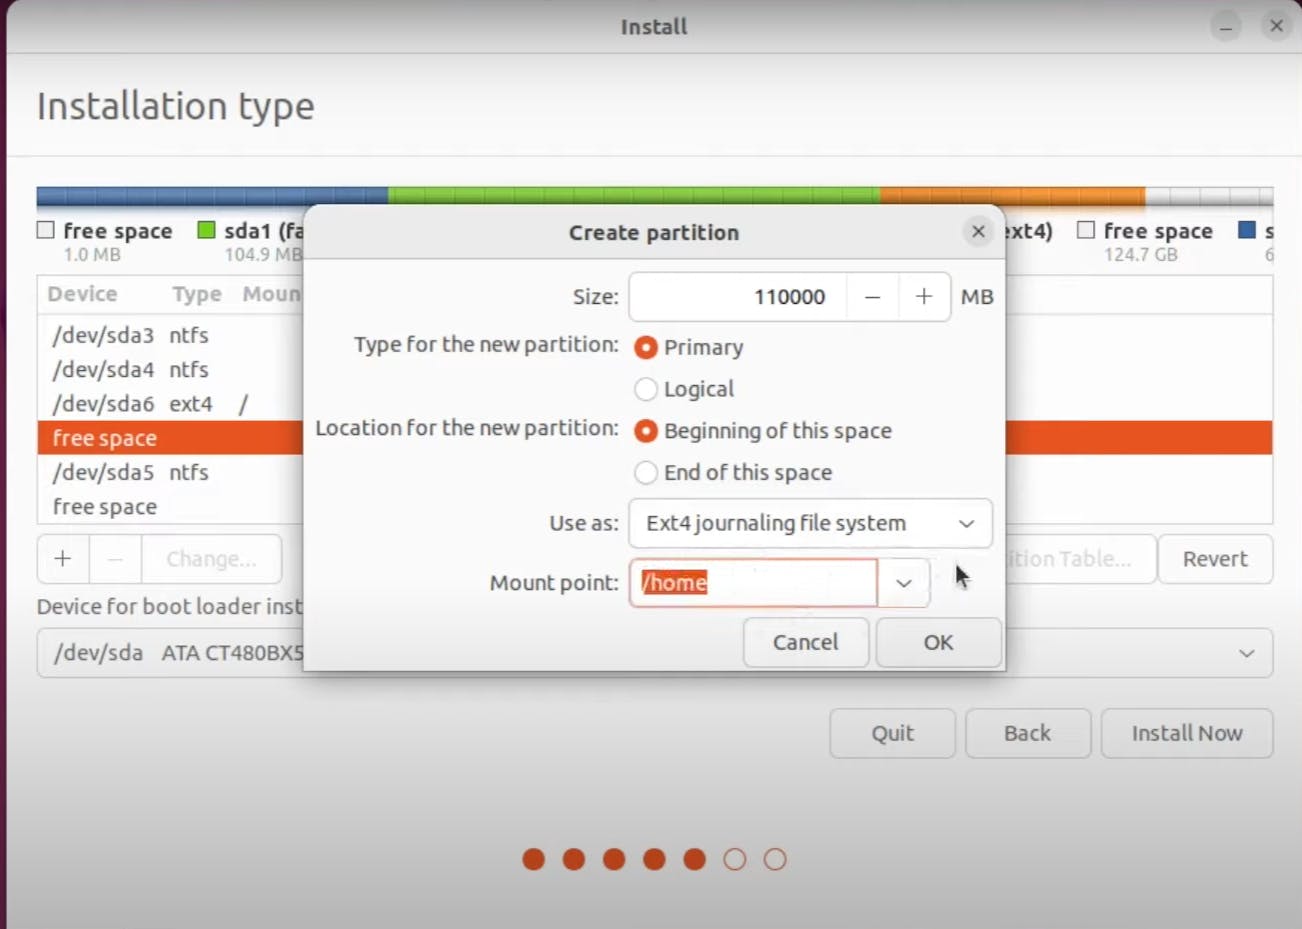
Creating
Swappartition
After all this click on the
Install Nowoption and press continue on the screen coming after it.
Choose your
timezoneand create auser account
Now sit back and relax, installing will take 5 to 20 minutes depending upon the writing speed of your drives. After the installation is completed, select the
Restart Nowoption.
FINAL STEP
Now remove the bootable drive(pen drive) while restarting and then you will get this screen
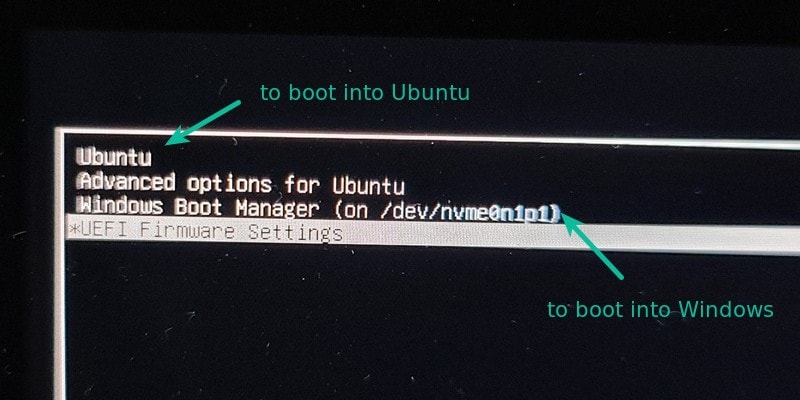
You can select Ubuntu to go into Ubuntu OS and Windows Boot Manager (on /dev/drive) to go into Windows Operating System.
You are all set to start your LINUX journey 👍.